

Cosmetic Contamination: 11 Ways to Bacteria-Proof Your Products
Many of us feel that our skincare and makeup collections are filled with modern-day masterpieces. Like museum directors, we carefully curate our gallery of cosmetics, treasuring each new addition. They are, in a word, precious.
And just like the works of art in a real gallery, our products require special security and upkeep to keep them pristine. After all, the Mona Lisa wouldn’t be so alluring if the public could just walk up every day and put their dirty hands all over her.
The same holds for the condition of your cosmetics. And who wants to invest top dollar in quality products, only to have them ruined by bacteria?
Unfortunately, contamination is a real danger to our cache of skincare and makeup. One university study found that 9 out of 10 daily beauty products are prone to nasty superbugs like E.coli and Staphylococcus. Putting such bacteria-ridden products on your face isn’t just horrifying, it’s also dangerous, leading to anything from skin infections to pink eye.
Certain products can be salvaged from such contamination, but others are destined for the trash. So you end up faced with a terrible choice: Should you keep risking your skin or say goodbye to some of the gems in your skincare treasure hoard? Seems like a lose-lose situation.
Instead, why not focus on preserving the sanctity of your products from the start? That way, you can confidently enjoy your skincare and makeup to the very last drops.
To help you get started on this righteous mission, we’ve compiled a comprehensive list of anti-contamination tips. So you can keep bacteria out of your products and maintain a cosmetics collection that is so fresh and so clean!
1. Wash Your Hands Before Your Routine
Bob Marley once said, “Before you start pointing fingers, make sure your hands are clean.” It’s a great lesson, but we’d like to add another variation:
Before you start touching your products, make sure your hands are clean.
Usually, your skincare and makeup products don’t start developing bacteria on their own — those external invaders are carried in on your skin. By washing your hands ahead of time, you can cut down on your products' exposure to contaminants and start your routine off on the right foot.
2. Use Skincare Applicators
What’s even better for your products than washing your hands? Washing your hands and using skincare applicators.
Even if your fingers are clean, there’s always a level of risk when you dip them into a product. Applicators provide an extra layer of protection by helping you keep a healthy distance between your cosmetics and any potential contaminants.
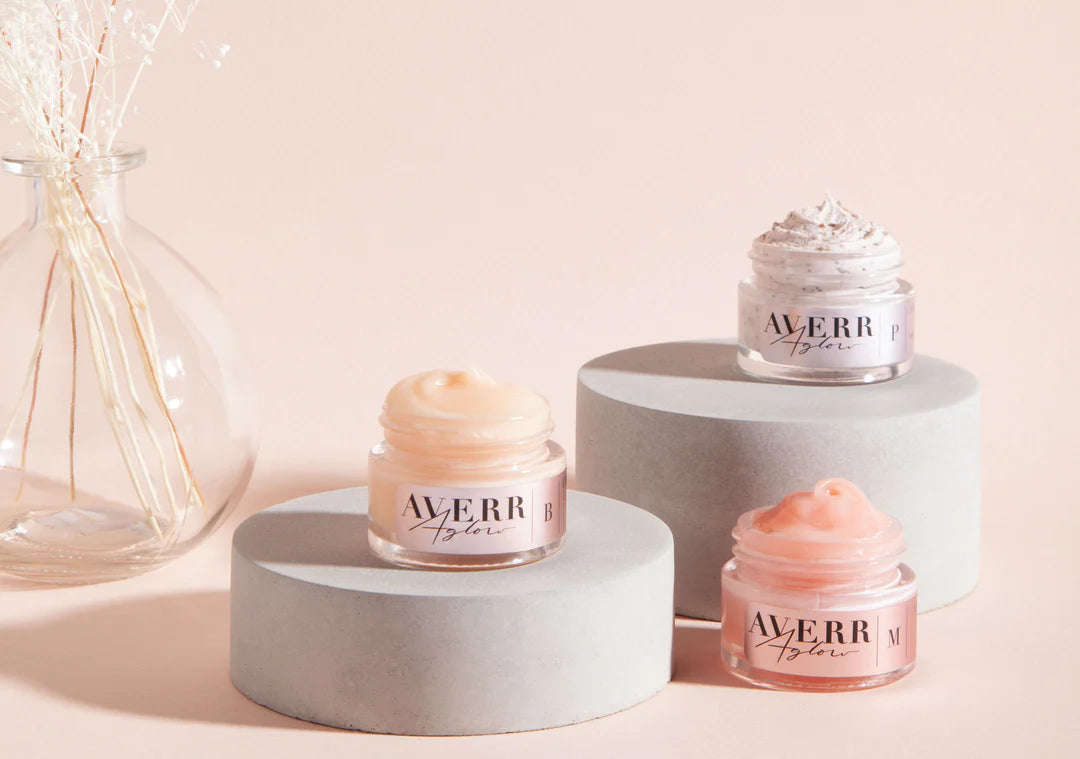
We want you to enjoy your Averr Aglow skincare routine safely. That’s why we include easy-to-clean spatula applicators with all of our jarred products!
3. Keep Products Tightly Closed in a Cool, Dark Place
Have you ever seen those little skincare fridges? Maybe you even own one yourself. They're cute, but it begs the question:
Do cosmetics need to be refrigerated?
The answer: not usually. Most skincare products are specifically tested for stability to ensure that they’ll hold up in the temperatures of an average bathroom cabinet.
That said, bacteria are known to love a warm environment, so it never hurts to make sure that your cosmetics are tucked away from potential heat sources. (And if you do want a skincare fridge, it’s worth mentioning that cooled products can feel wonderfully indulgent when applied.)
More hazardous to the shelf-life of your skincare are light and oxygen. So it’s important to make sure that your products are always tightly closed and away from direct sun.
4. Individualize Your Brushes and Sponges
We love a minimalist beauty routine, and it can be tempting to cut down on your number of brushes by letting them multitask. But using the same brush or sponge for multiple products is also a fast way to spread oils, bacteria, and other contaminants.
Where at all possible, keep a different brush or applicator for each cosmetic in your regular rotation.
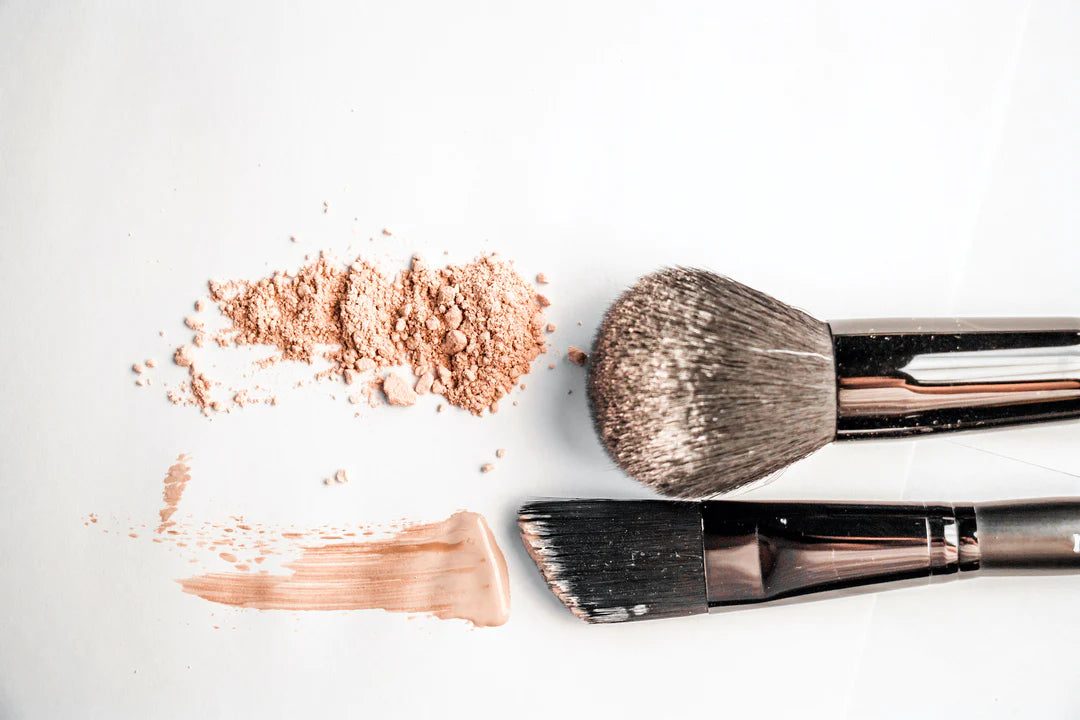
5. Clean Makeup Brushes and Sponges
Cleaning your makeup tools is a step that most of us know about, but few of us follow through on. It slips into that same category as getting an oil change or going to the dentist: something we’ll get around to eventually.
Washing your brushes can seem like yet another chore, but it’s vital. They can very quickly acquire a buildup of dirt, oils, and germs that may not be visible to the naked eye. So even if they look clean, you may not even be able to see all the grime that’s catching your tools.
The pros recommend refreshing your brushes once a week. But a whopping 61 percent of women clean their makeup brushes less than once a month — if at all. But it’s not just procrastination. 17% of women (and a huge 31% of millennial women) don’t even know how to clean them properly.
Don’t worry, it's easier than you think.
How to Clean Your Brushes
- Clean one brush at a time. Wet the brush with warm water and add a dollop of your preferred cleanser. (Such as baby shampoo, a gentle face cleanser, or a dedicated makeup brush cleanser.)
- Massage the cleanser deep into the bristles and at the base.
- Rinse the brush under a tap until the water runs clear.
- Thoroughly squeeze out any excess moisture, smooth bristles, and lay on a clean surface to air dry. (To help prevent mildew, try laying the brush heads so that they are hanging off the edge of a counter or table. This way, the air can reach them from all sides.)
- Don’t forget the handle! Wipe it down with an antibacterial surface cleanser.

How to Clean Your Sponges
- Clean one sponge at a time. Wet the sponge with warm water until completely damp, and add a dollop of your preferred cleanser. (Such as baby shampoo, a gentle face cleanser, or a dedicated makeup brush cleanser.)
- Lather the cleanser throughout the body of the sponge.
- Keep squeezing out the water and reapplying the cleanser until all of the makeup product has been washed out.
- Thoroughly squeeze out any excess moisture, lay on a clean, open surface, and leave to air dry.
6. Sterilize Eyelash Curlers, Jade Rollers, and Other Tools
Solid cosmetic tools may be less porous and textured than your typical brush or sponge, but they can still collect dangerous amounts of oil and bacteria. So when you pull your makeup brushes out for their weekly cleanse, go ahead and invite your other tools to the party.
Cleaning Metal Cosmetic Tools
Metal cosmetic tools can include anything from tweezers and scissors to eyelash curlers. Luckily, these are pretty easy to maintain. To keep your metal tools clean and sanitary, you can get by with a quick wipe of rubbing alcohol. Just bear the following tips in mind:
- If your tools have any kind of buildup from skin oils or eye makeup, first remove residue with a tissue or makeup wipe, then clean with alcohol.
- Tools used near your eyes should be rinsed after their alcohol wipe-down. Rinse with cold water and dry thoroughly.
- Periodically changing the pad on your eyelash curler will keep it fresh, safe, and effective. Every 3-6 months should suffice.
- For small tools, such as pencil sharpeners, you can use a Q-tip or other cotton bud to apply rubbing alcohol in every nook and cranny.
Cleaning Stone Cosmetic Tools
What about those gorgeous stone accessories, like jade rollers or gua sha tools? Stone is softer than metal and must be treated a little more gently.
Wash stone tools with antibacterial soap and water, being extra careful to dry them off immediately — especially metal parts, handles, or rollers. Lingering moisture can cause rust and squeaking!
7. Don’t Share Products
When you find a new lipstick shade or the perfect liquid eyeliner (finally!), it can seem exciting to share the joy with a close friend. But if you’re trying to keep your products clean and sanitary, the experts say not to share. You can pass each other all kinds of bacteria, from a seasonal cold or flu to a truly unpleasant eye infection.
(No, seriously: the pros especially recommend against sharing any eye products or liquid ones that can’t be sanitized.)
Avoid Public “Tester” Products
There’s nothing like a bit of color-swatching with the sample products at Ulta or Sephora. But a two-year study analyzing the contents of such “Tester” bottles found that most of them were riddled with E.coli, staph, and the bacteria behind strep throat. And on Sundays, after a busy weekend, the contamination rate was 100%. EVERY BOTTLE WAS CONTAMINATED. So maybe give those “Tester” products a pass.
8. Throw Out Expired Products
It hurts to let go. We know that. But using products past their expiration date is just asking for trouble, as they can quickly lead to irritation and inflammation.
So when do you toss them? Many cosmetics have an expiration date somewhere on the container, such as the markers “12M” or “18M” on the bottom. These respectively indicate that a product expires 12 months or 18 months after opening.

Can’t find a date, and not sure if your product is still good. A quick inspection may be all the proof you need. If the product has separated, changed color or texture, or smells a little funkier than you remember, ditch it. Those are all ominous signs that your product’s quality has declined, and it’s no longer safe for use.
9. Sanitize Your Makeup
Not all products can be salvaged if exposed to bacteria, but certain makeup items are surprisingly sanitizable. Periodically give them a clean to maintain fresh, uncontaminated products — especially if you’ve shared them with anyone else.
-
Using an Antibacterial Spray: There are specialized makeup sanitizing sprays you can use to help eliminate bacteria on your products. Usually, these can be used on solid cosmetics like:
- Cream compacts
- Pressed powders and eyeshadows
- Makeup pencils
- Lipstick and lip palettes
- How to Sanitize Lipsticks: If you don’t have antibacterial makeup spray, you can also clean lipstick with rubbing alcohol. Simply wind the lipstick up out of its tube and dip it into rubbing alcohol for 30 seconds.
- Sharpen Eye and Brow Pencils: Sharpening makeup pencils is a quick method to reveal fresh, untainted products.
- What About Liquid Makeup? Unfortunately, there’s no convenient way to sanitize liquid products like wand concealers, lip gloss, and mascara. If you think a liquid product has become dangerously contaminated, it’s best to simply discard it.
10. Wash Makeup and Skincare Bags
This is one crucial tip that often flies under the cleanliness radar. Who sanitizes their bags? However, studies have shown that pouches collect all sorts of contaminants. For example, handbags may be more germ-infested than the average toilet seat.
Now that you’re frantically spritzing your purse with antibacterial spray, why not also give your makeup bags the sanitary treatment? Especially since it’s shockingly simple.
If you’re using a plastic-based makeup bag, simply rub it down with an antibacterial wipe or soapy washcloth. If you’re using a cloth bag, add it to your next hot water laundry load.
11. Revel in Naturally Protective Ingredients
Our final tip? Never underestimate the power of antibacterial, antimicrobial, and antiviral botanicals. They can help your skin repel any lingering invaders trying to sneak in from your hands, brushes, or makeup bags, and keep your complexion fresh.
At Averr Aglow, we love incorporating powerful natural ingredients, especially in our acne-fighting Clear Skin Kit. This easy, 4-step system boasts purifying botanicals such as:
- Tea tree oil(antibacterial, antifungal, antiviral, and anti-inflammatory)
- Manuka oil (antimicrobial, antifungal, and anti-inflammatory)
- Prickly pear seed oil (antimicrobial, antifungal, anti-inflammatory, and antioxidant)
- Jojoba oil (antibacterial, anti-inflammatory, and antioxidant)
- Rosehip oil (antiviral, anti-inflammatory, and antioxidant)

However you choose to perfect your clean, skin-friendly routine, the most important thing is to put your complexion’s health and wellness first. Remember: products and tools are always replaceable, but your gorgeous skin is one of a kind! xx
